Summer 15% discount on all last year's cocoa butter press models


How to Clean a Cocoa Butter Press Machine After Daily Production

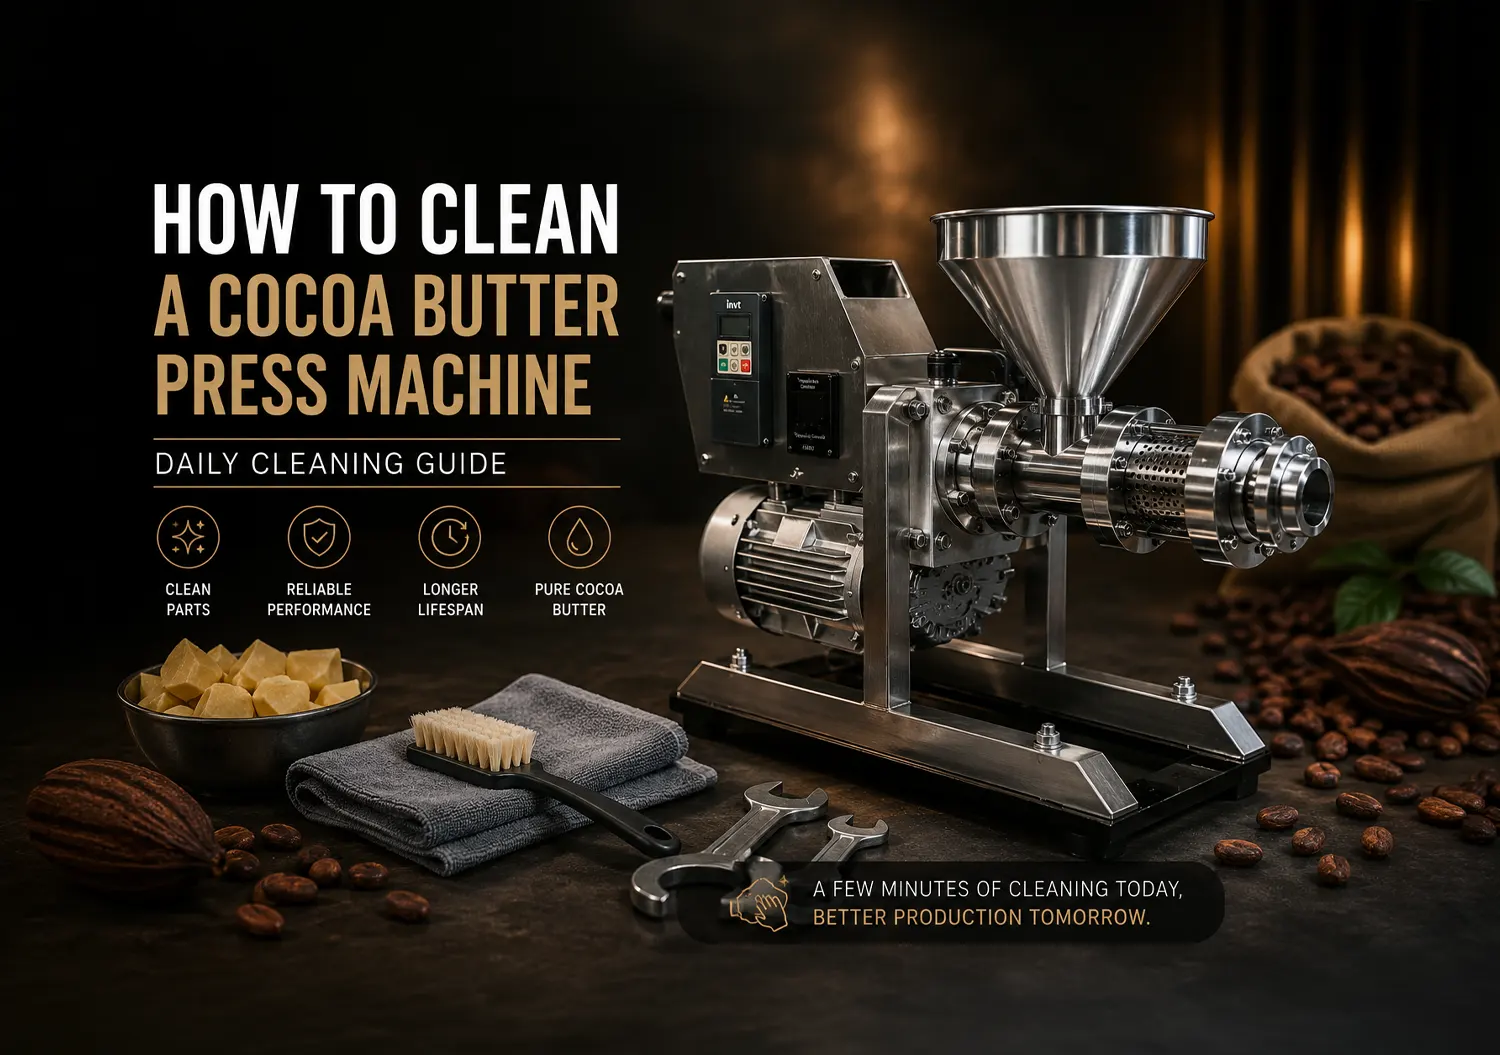
Keeping your cocoa butter press clean is just as important as making good cocoa butter.
Many people think daily cleaning takes a long time. In reality, it only takes a few minutes when done at the right time.
The most important rule is simple. Clean the machine as soon as production is finished.
During pressing, cocoa press cake remains inside the machine. If it is left there for hours, it becomes hard. Once it hardens, cleaning becomes more difficult and the next production run may not start as smoothly.
For this reason, daily cleaning should always be part of your production routine.
When Should You Start Cleaning?
The best time is immediately after production.
At this stage, the remaining cocoa press cake is still warm and soft. It can be removed much more easily.
If the machine sits for several hours, the remaining material begins to harden. This usually happens around the press head and inside the nozzle.
Our recommendation is simple.
Finish production, clean the machine, and leave it ready for the next batch.
Step 1 – Stop the Machine
Turn off the machine using the control panel.
Wait until the motor comes to a complete stop.
Never attempt to clean the machine while the screw is still rotating.
Always begin cleaning only after every moving part has stopped completely.
Step 2 – Disconnect the Power
After the machine has stopped, disconnect the electrical supply.
Unplug the power cable or switch off the main power source.
Although this step seems simple, it is an important safety precaution.
It prevents the machine from starting unexpectedly while you are cleaning it.
Step 3 – Check the Feed Hopper
Inspect the feed hopper carefully.
Remove any cocoa nibs that remain inside.
Then wipe the hopper with a clean, dry cloth.
Leaving product inside the hopper for long periods is not recommended.
Keeping the hopper clean also helps prepare the machine for the next production run.
Step 4 – Remove the Nozzle
The nozzle is one of the most important parts to clean every day.
Most of the pressed cocoa cake passes through this section.
Small amounts of cocoa residue can remain inside the nozzle after production.
If these residues harden, they may restrict product flow during the next production cycle.
For this reason, remove the nozzle after every production run.
Clean away all remaining cocoa residue.
If necessary, use a small brush or a suitable hand tool.
Step 5 – Clean the Press Head
Safety Notice
After production, the press head and the heating ring may still be very hot.
Allow enough time to work safely.
We strongly recommend wearing heat-resistant protective gloves whenever handling hot components.
Once the nozzle has been removed, the next step is cleaning the press head.
This area collects the largest amount of pressed cocoa cake during production.
Finding some remaining material inside the press head is completely normal.
However, it should not remain there until the next production run.
As the cocoa cake cools, it becomes much harder.
That makes the next startup more difficult.
For this reason, we recommend removing and cleaning the press head after every production cycle.
How to Remove the Press Head
Every machine is supplied with a special three-function service wrench.
Using this wrench together with a hammer, the press head can be removed easily.
Place the wrench into position.
Apply several medium-force hammer taps in the OPEN direction.
The press head already has OPEN and CLOSE markings with directional arrows.
If cleaning begins shortly after production, while the machine is still warm, the press head normally comes loose after only a few medium hammer taps.
Important Warning
Do Not Use Excessive Force
Some users believe that if the press head does not open, hitting it harder will solve the problem.
We do not recommend this.
If the press head does not loosen after a few moderate hammer taps, the most common reason is that the machine has been left unused for too long after production.
As the machine cools, the remaining cocoa cake inside the press head becomes hard.
This can create a strong bonding effect between the press head and the machine body.
In this situation, the solution is not more force.
The correct solution is to warm the press head again.
Turn on the press head heater and heat it to approximately 100°C (212°F) for about 20 minutes.
The hardened cocoa residue will gradually soften.
After reheating, carefully remove the heating ring.
Then try again using a few moderate hammer taps.
In most cases, the press head will come off easily.
This method is safer and helps protect the machine components from unnecessary damage.
Cleaning Inside the Press Head
Once the press head has been removed, carefully clean out any cocoa residue remaining inside.
If necessary, use a flat-head screwdriver to remove compacted material.
Work carefully to avoid damaging the metal surfaces.
If you have an air compressor in your workshop, compressed air is one of the easiest ways to remove even the smallest cocoa particles.
It is fast, effective, and works well for daily cleaning.
Avoid striking the metal parts or using excessive force.
The goal is simply to remove the remaining cocoa residue, not to damage the components.
Once the press head is completely clean, reinstall it.
The machine will then be clean, ready, and waiting for the next production run.
From our experience, this simple routine helps maintain stable production quality and supports reliable machine performance for many years.
Step 6 – Check the Cocoa Butter Outlet Holes
The cocoa butter outlet holes should always remain clean and open.
Small amounts of cocoa residue can build up inside these holes over time.
If the holes become blocked, cocoa butter cannot flow freely.
This may reduce extraction performance during the next production run.
Inspect every outlet hole during daily cleaning.
If you notice any blockage, remove it carefully.
Take care not to damage the holes while cleaning.
If compressed air is available, it is an excellent way to remove fine cocoa particles without scratching the metal surface.
Step 7 – Clean the Exterior Surfaces
During production, small amounts of cocoa butter or cocoa powder may collect on the outside of the machine.
Wipe all exterior surfaces with a clean, dry microfiber cloth.
Keeping the outside of the machine clean is not only better for hygiene.
It also helps protect the stainless steel surfaces and keeps the machine looking professional.
A clean machine is easier to inspect and easier to maintain.
Important Notice
Chemical Cleaning Is Not Necessary
We do not recommend using chemical cleaning products for daily cleaning.
In most cases, they are simply not needed.
The best method is mechanical cleaning.
Remove the remaining cocoa cake from the machine.
Then wipe every part with a clean, dry microfiber cloth.
There is no benefit to using chemical cleaners on the press head, nozzle, or other product-contact surfaces during normal daily maintenance.
In some cases, unnecessary chemicals may even leave unwanted residues.
This is something you should avoid in food production.
Our recommendation is simple.
First, remove every piece of remaining cocoa residue.
If necessary, loosen compacted material using suitable hand tools.
Then wipe all components with a clean microfiber cloth.
If your workshop has an air compressor, use compressed air to remove even the smallest cocoa particles from the press head, nozzle, and surrounding components.
Compressed air also helps leave every part completely dry.
From our experience, this method is more than enough for everyday cleaning.
Daily maintenance does not need to be complicated.
Remove the cocoa residue.
Wipe the components clean.
Use compressed air if available.
That is the cleaning routine we recommend.
Step 8 – Dry All Components
Once cleaning is complete, make sure every part is completely dry.
Pay special attention to the nozzle and the press head.
These parts should never be left damp.
Dry components support better hygiene and help protect the machine during long periods between production runs.
A few extra seconds spent drying the machine can make a noticeable difference over time.
Step 9 – Prepare the Machine for the Next Production Run
Before leaving the workshop, make sure the machine is ready for the next production day.
Reinstall the nozzle.
Make sure the press head is properly fitted.
Leave the feed hopper empty.
Check that all exterior surfaces are clean.
Building this habit makes the next startup much faster and easier.
Instead of preparing the machine the next morning, you can begin production almost immediately.
How Long Does Daily Cleaning Take?
If cleaning starts immediately after production, the entire process usually takes only a few minutes.
The longer you wait, the harder the remaining cocoa cake becomes.
Once it hardens, cleaning takes more time and requires more effort.
For this reason, we always recommend cleaning the machine as soon as production is complete.
It is the quickest and easiest approach.
The Most Common Mistake
The mistake we see most often is leaving the machine uncleaned after production.
Many operators think,
“I’ll clean it tomorrow.”
Unfortunately, tomorrow usually becomes much harder.
The remaining cocoa cake hardens.
Cleaning takes longer.
The next production run may not start as smoothly.
A few minutes saved today can easily become an hour of extra work tomorrow.
A Small Habit Makes a Big Difference
Some users see daily cleaning as lost production time.
We see it differently.
Just a few minutes of routine cleaning can prevent hours of maintenance later.
It also helps maintain stable production.
Machine startup becomes easier.
Cleaning becomes faster.
Unexpected downtime becomes less likely.
Our advice is simple.
Finish production.
Clean the machine.
Leave it ready for the next batch.
This small routine helps protect both the machine and your production process.

